
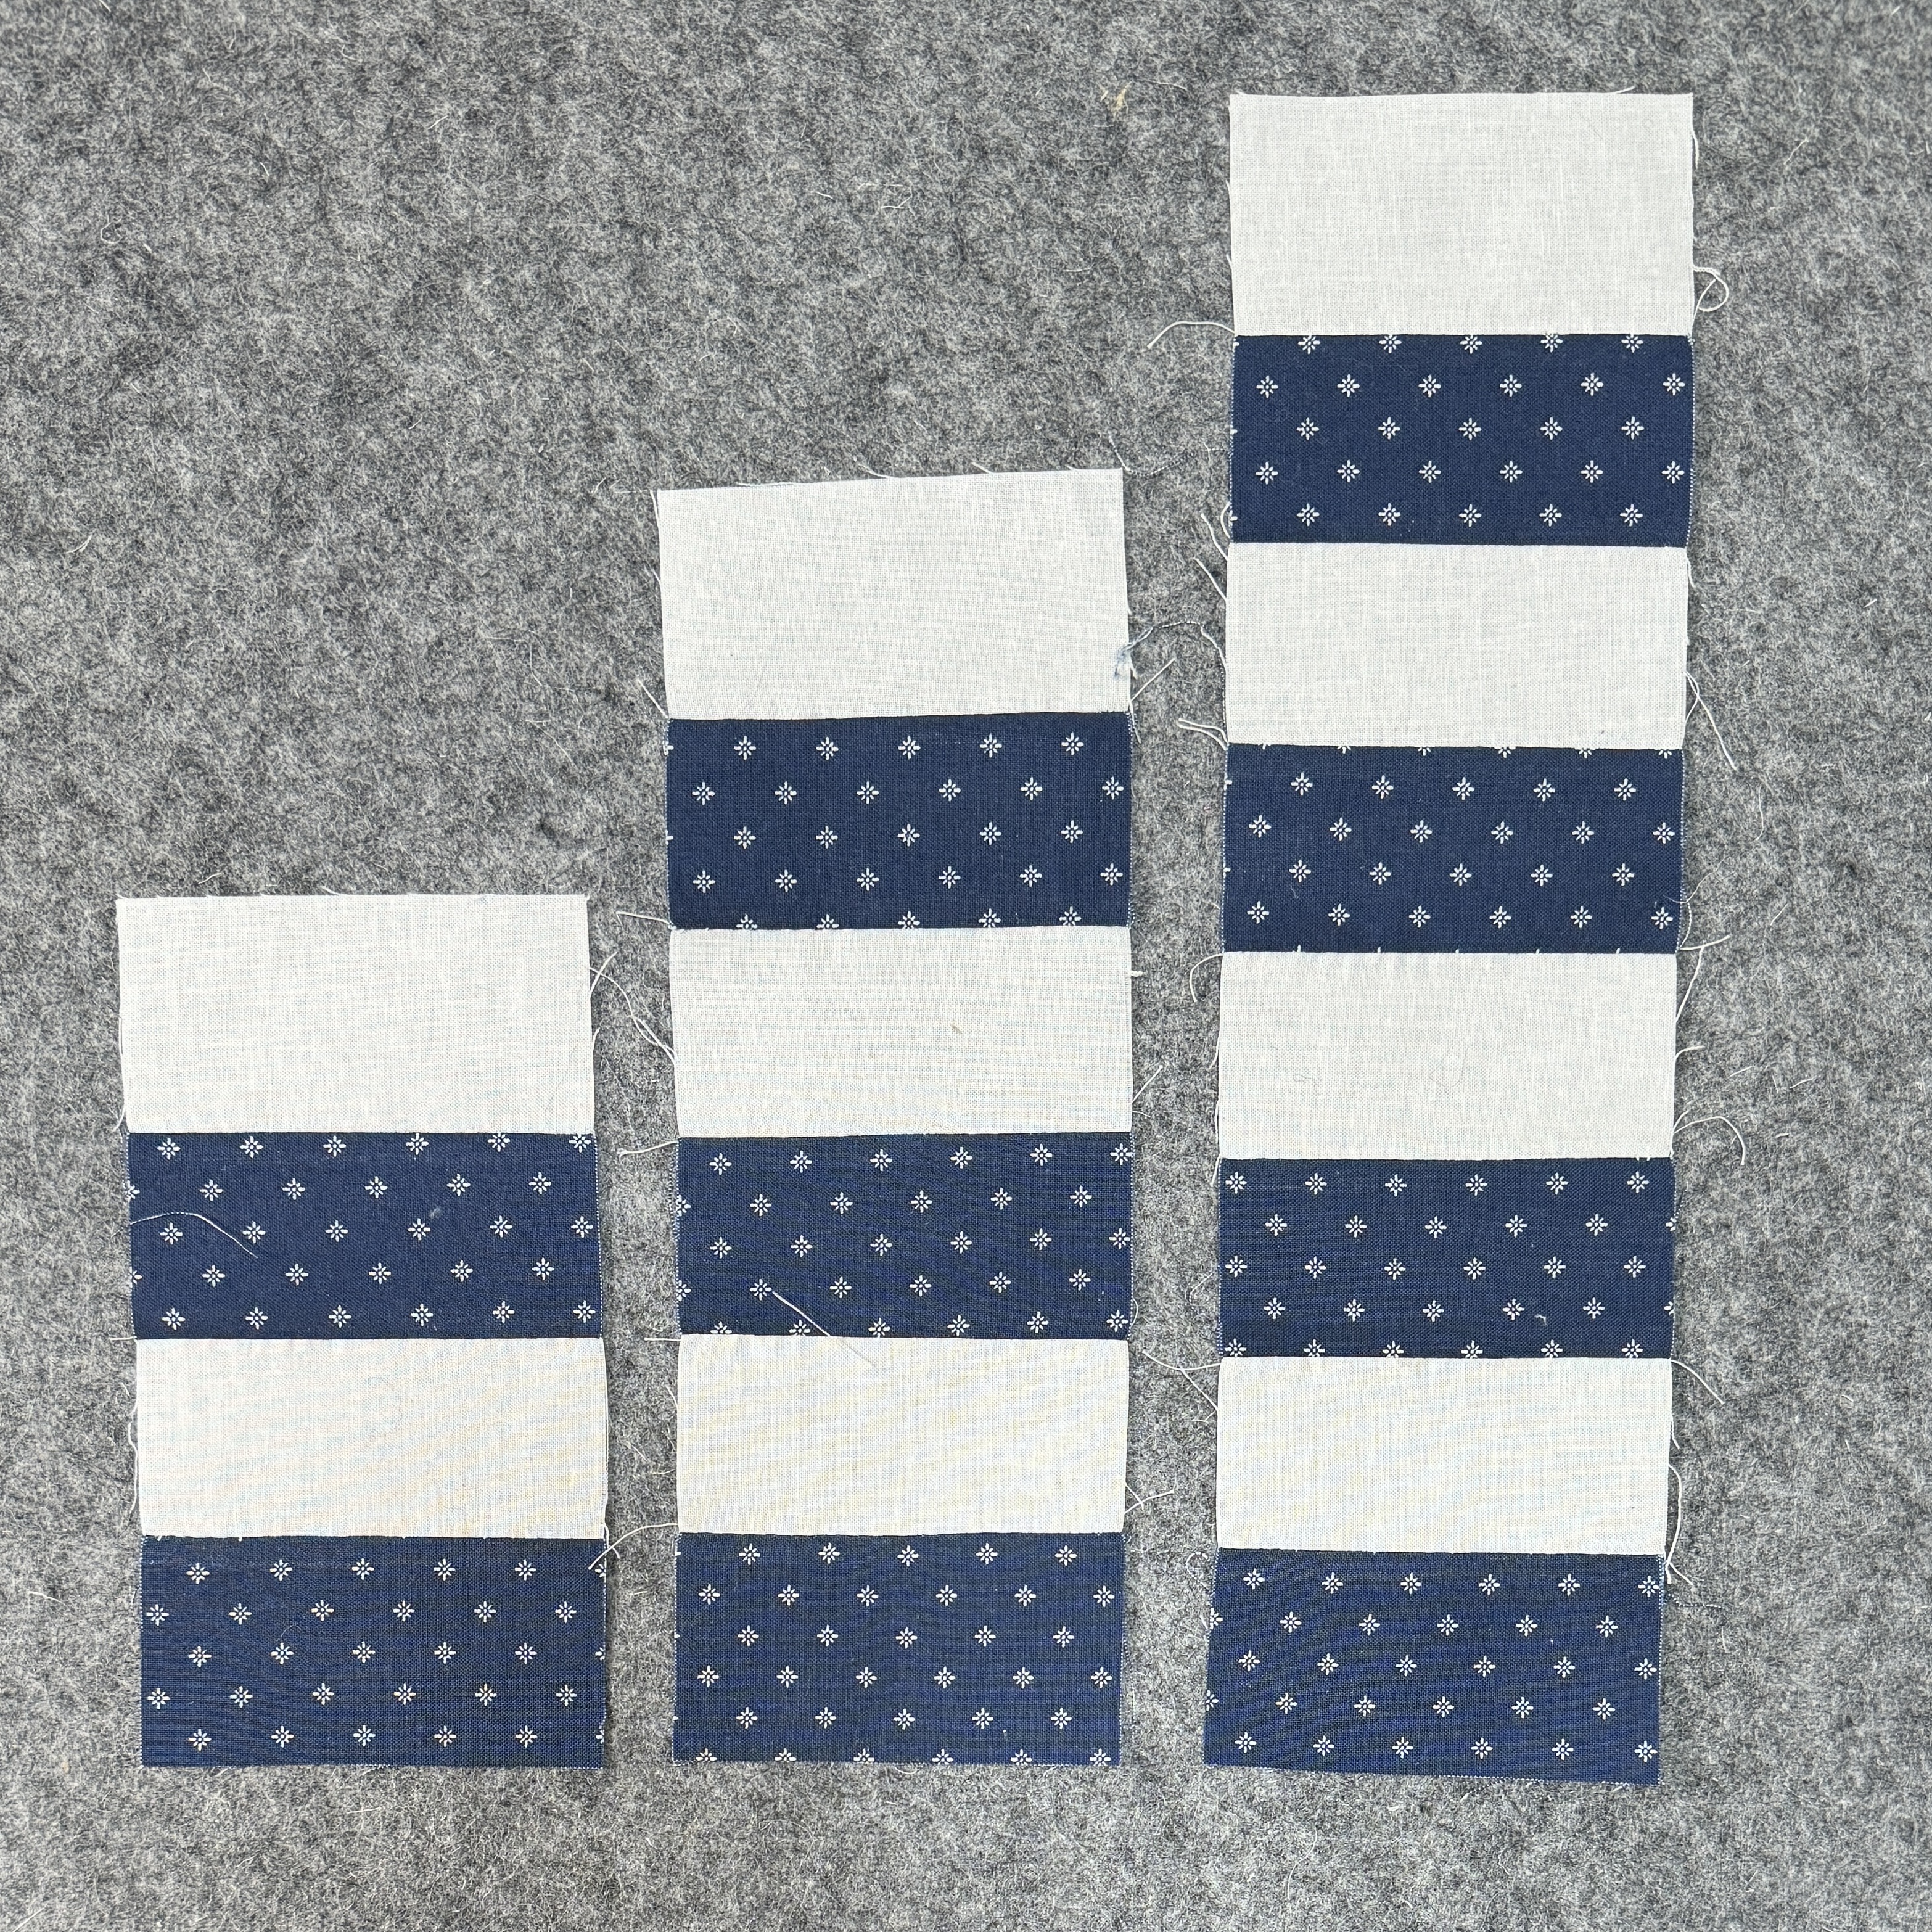
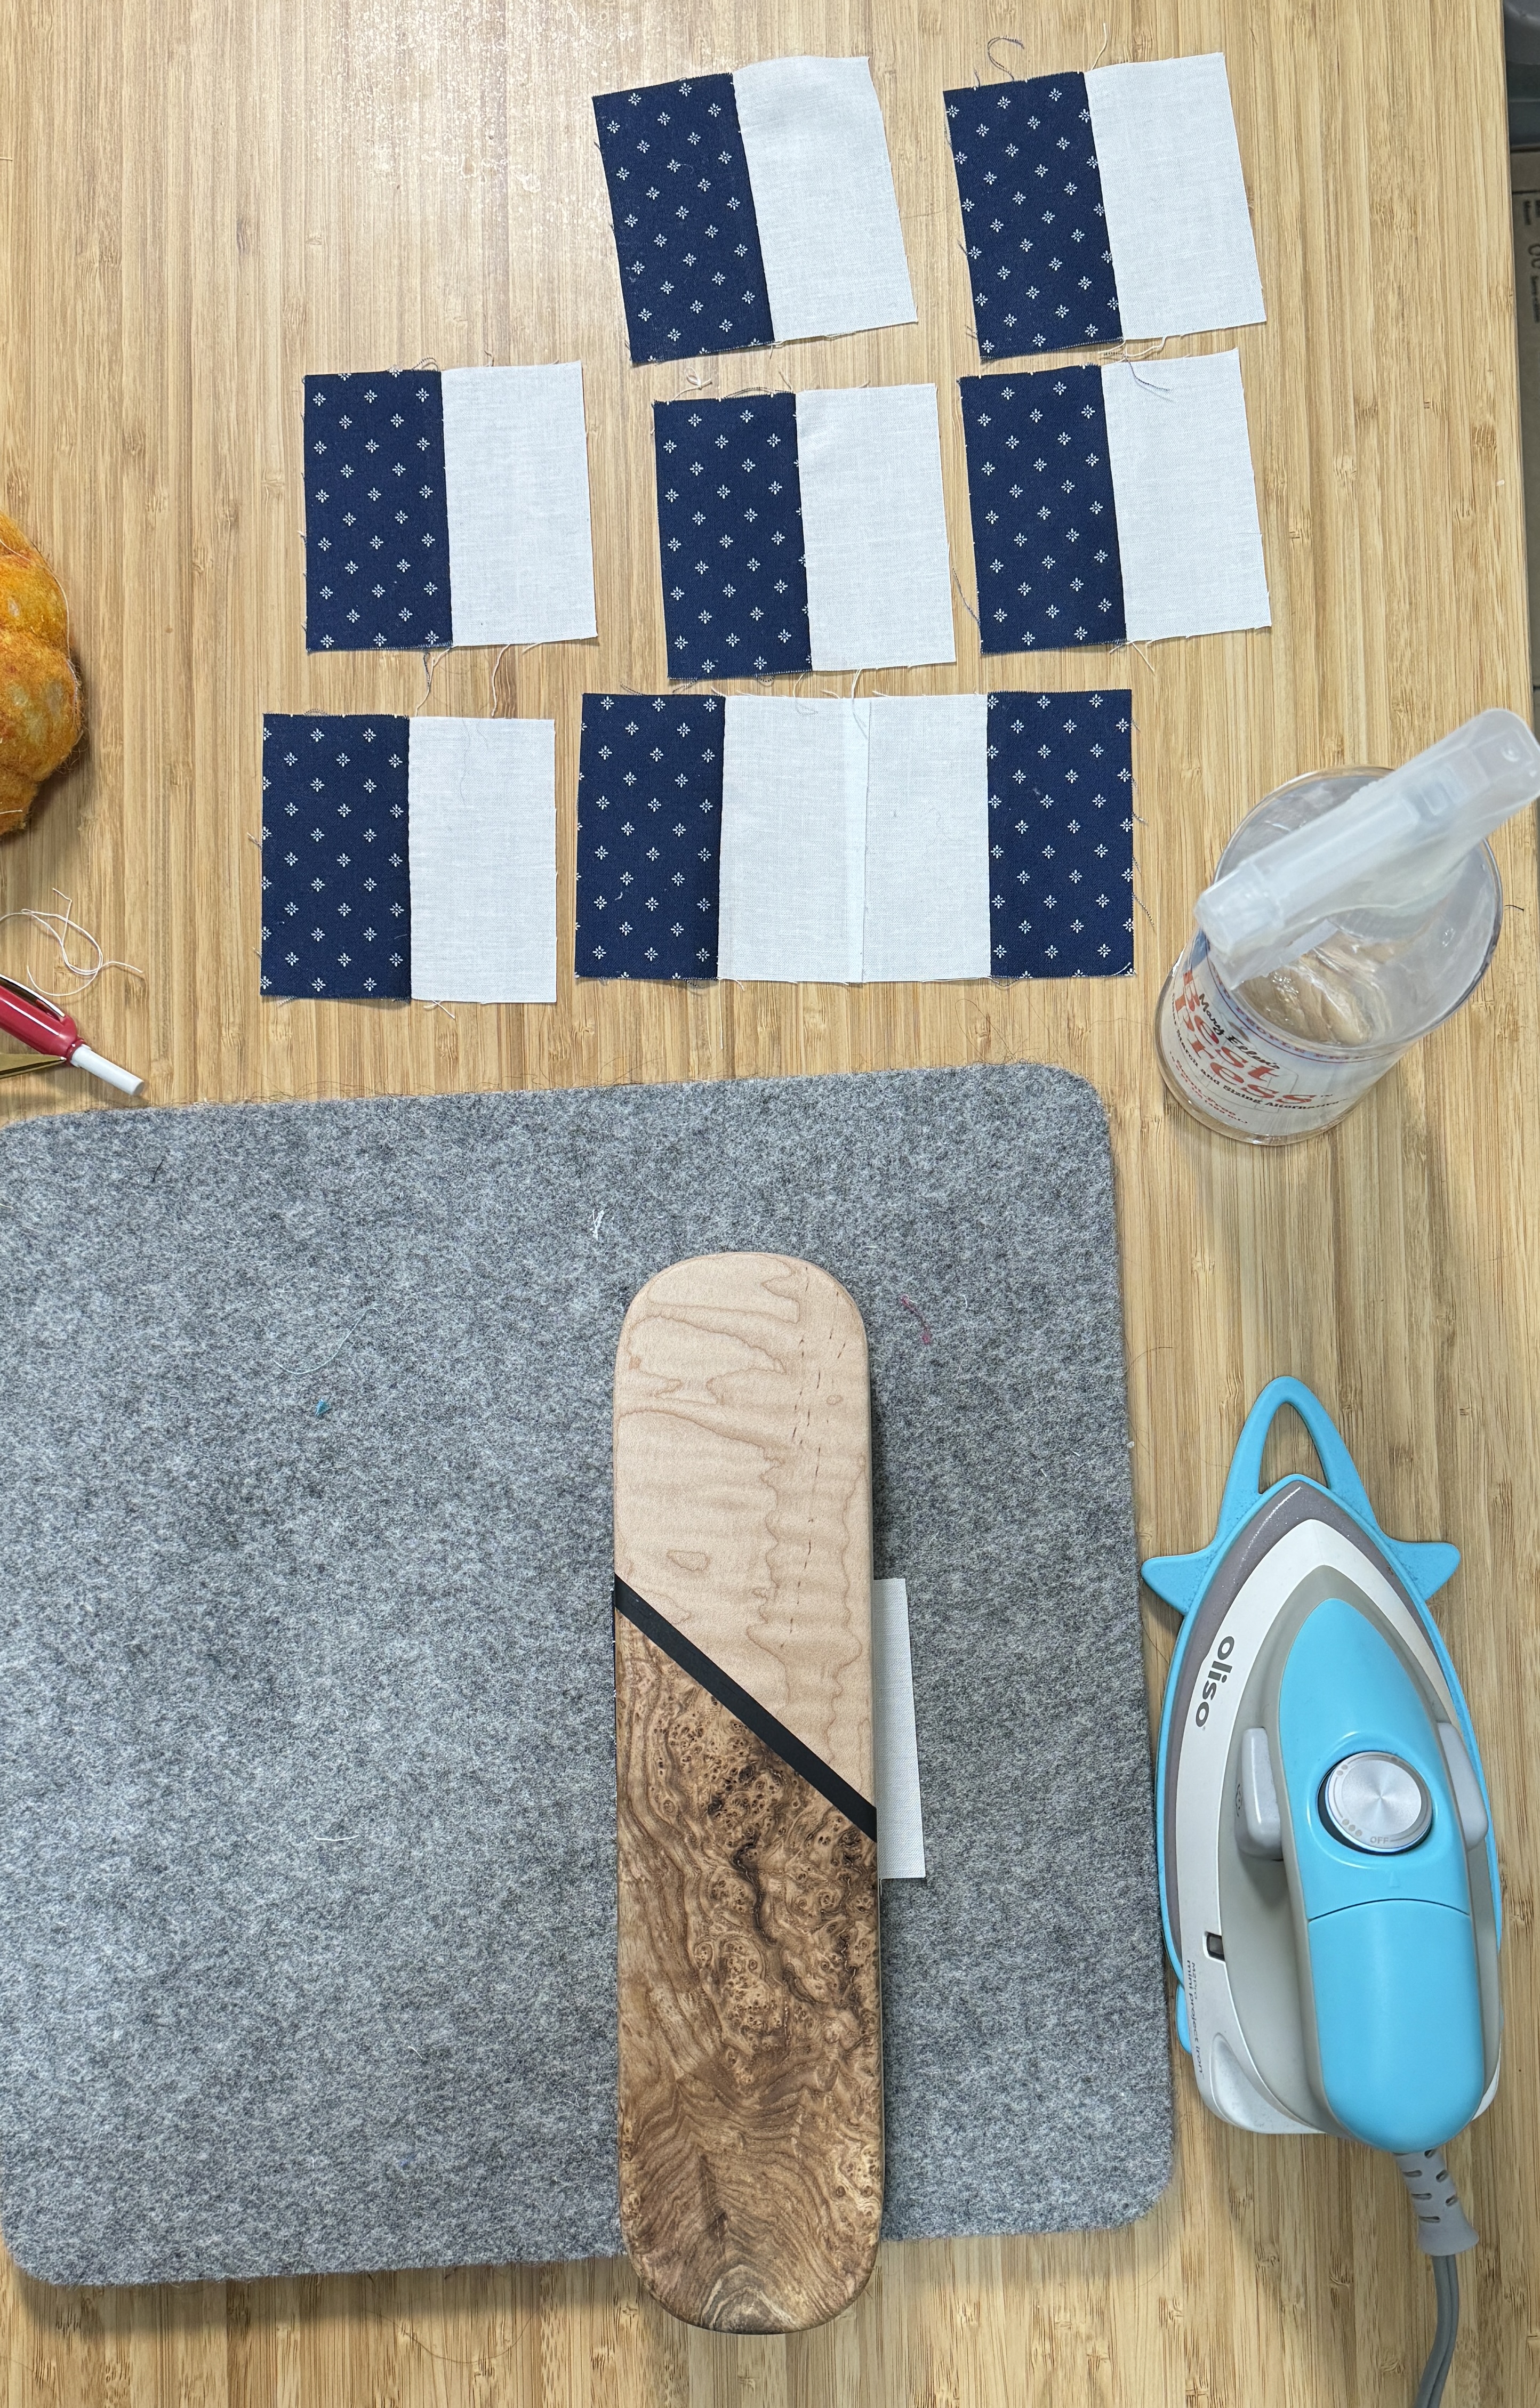
Block 01 - Chinese Coins
Finished my first “block”, which is actually three of the same block. Called “Chinese Coins”. They are easy to cut and easy to sew.
This has brought back memories from starting on the first version of this quilt back in January 2019!
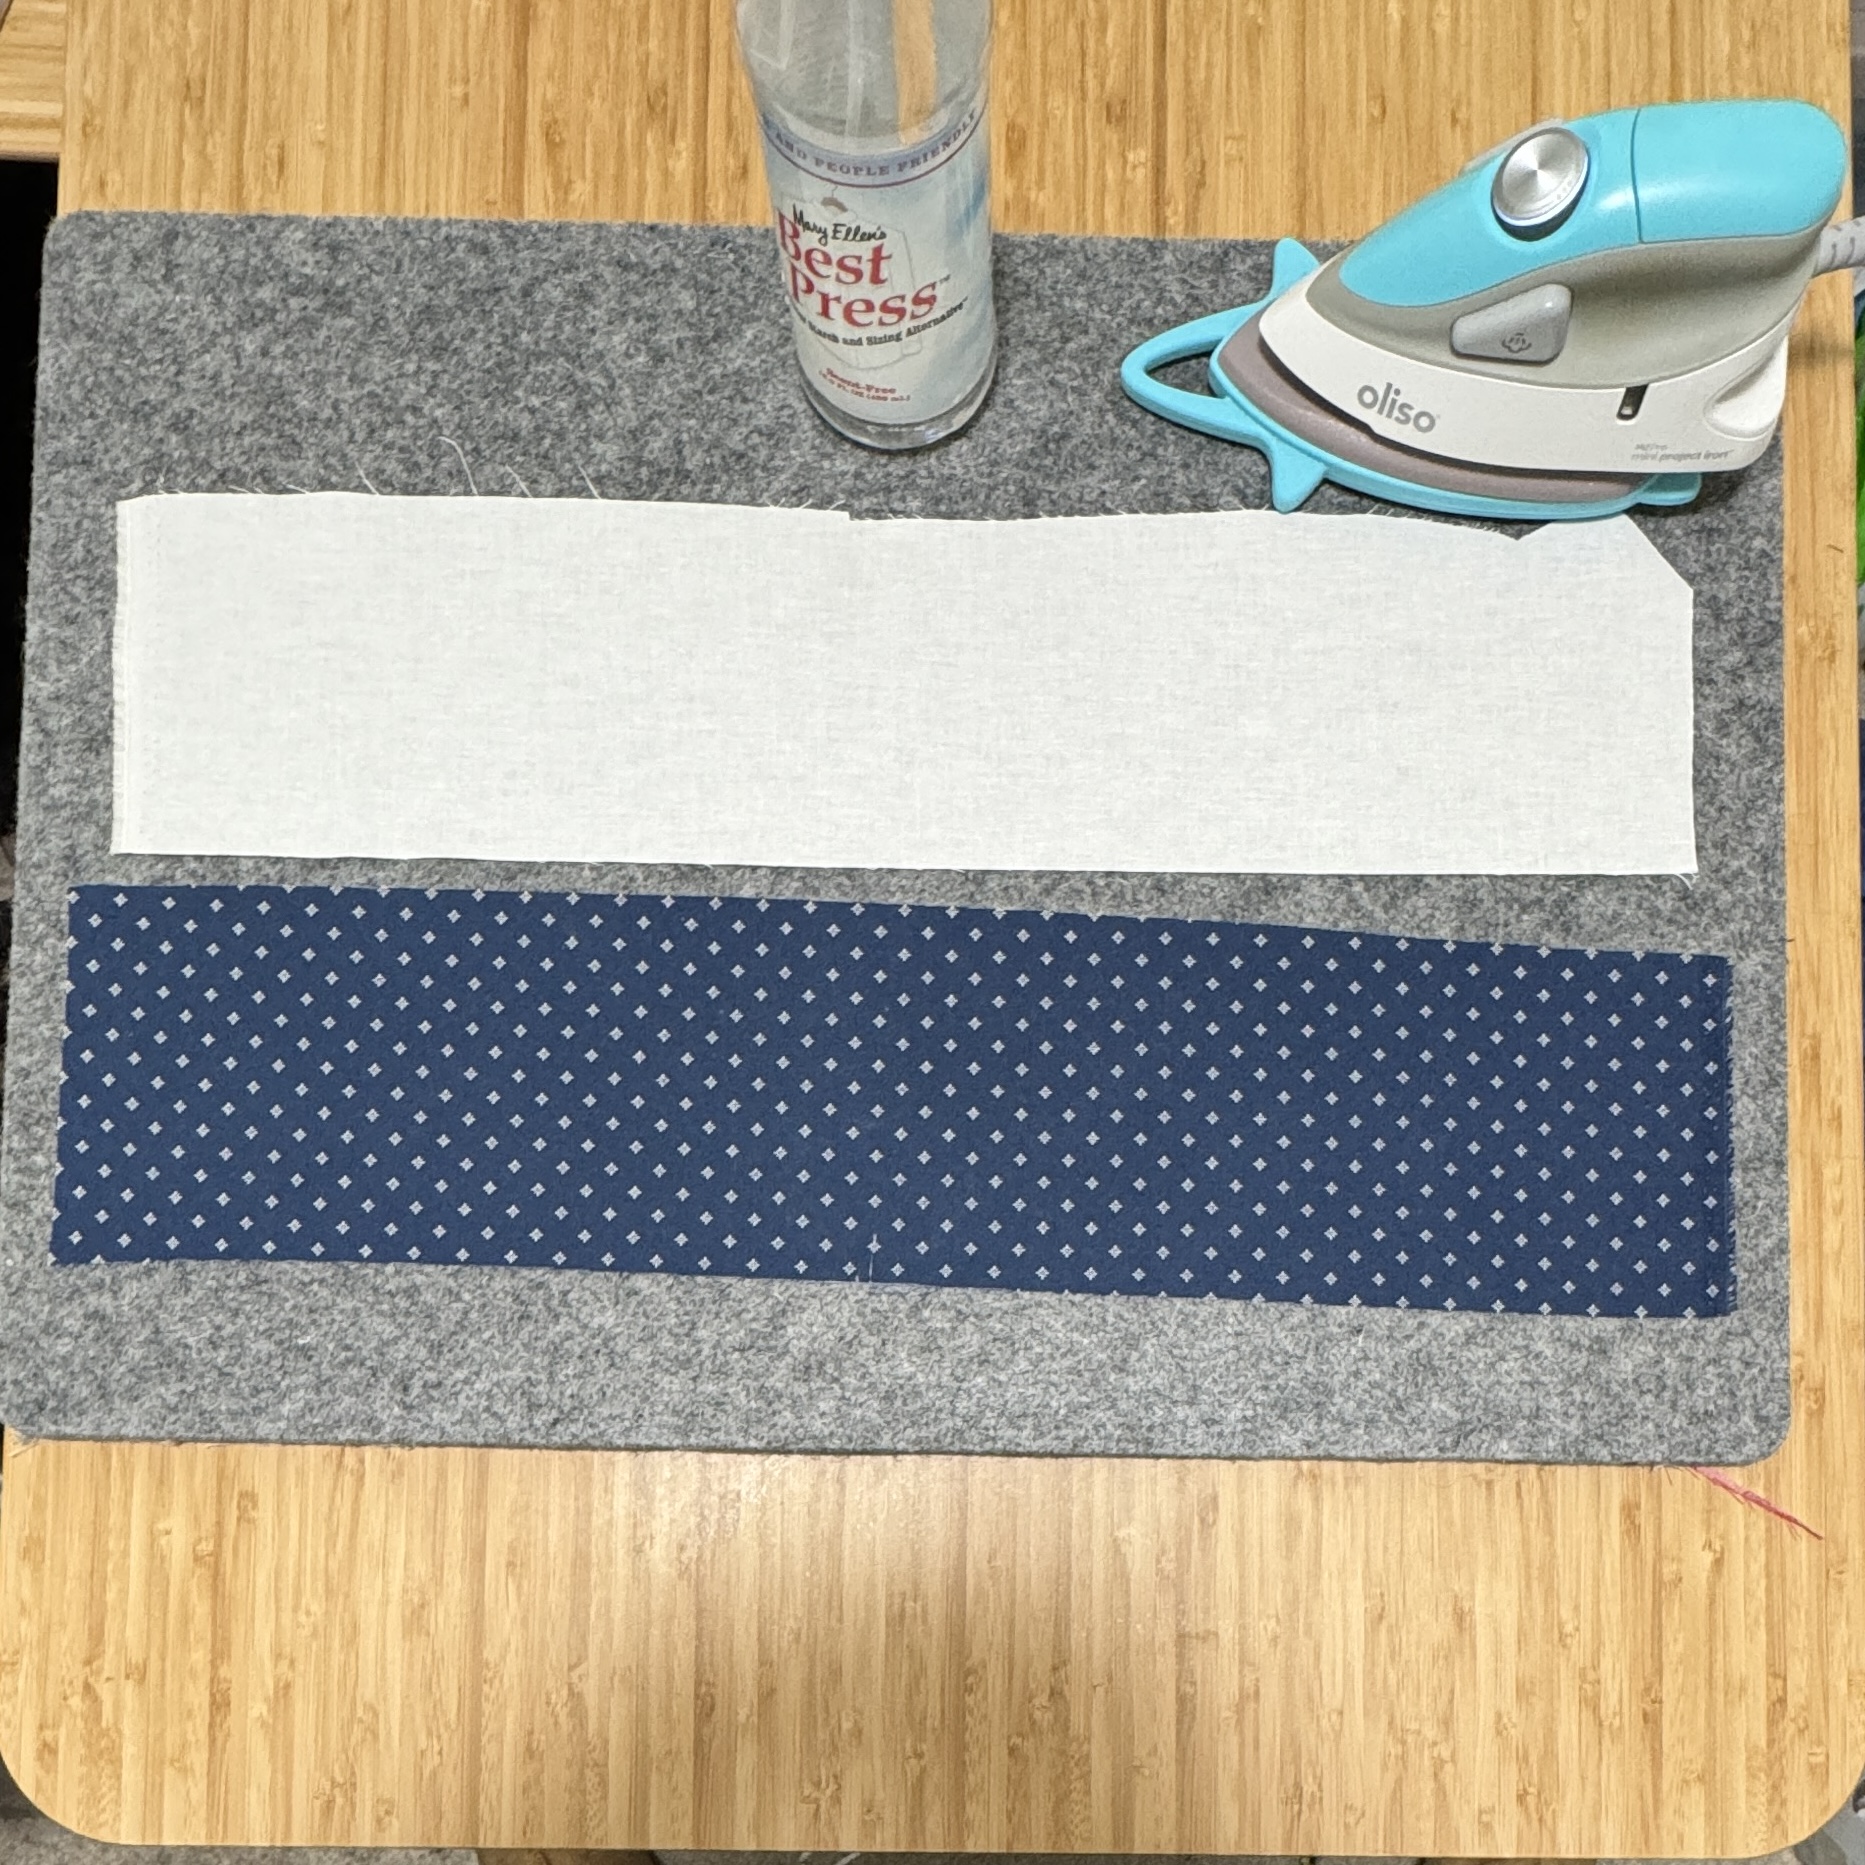
I picked an off white fabric (Kona Snow) as background fabric. And I’m using one of the main blues, with a slight white pattern. I cut long strips and starched them with MaryEllen’s Best Press before cutting. Starching the fabric before cutting is a step I hadn’t been doing the first time around.
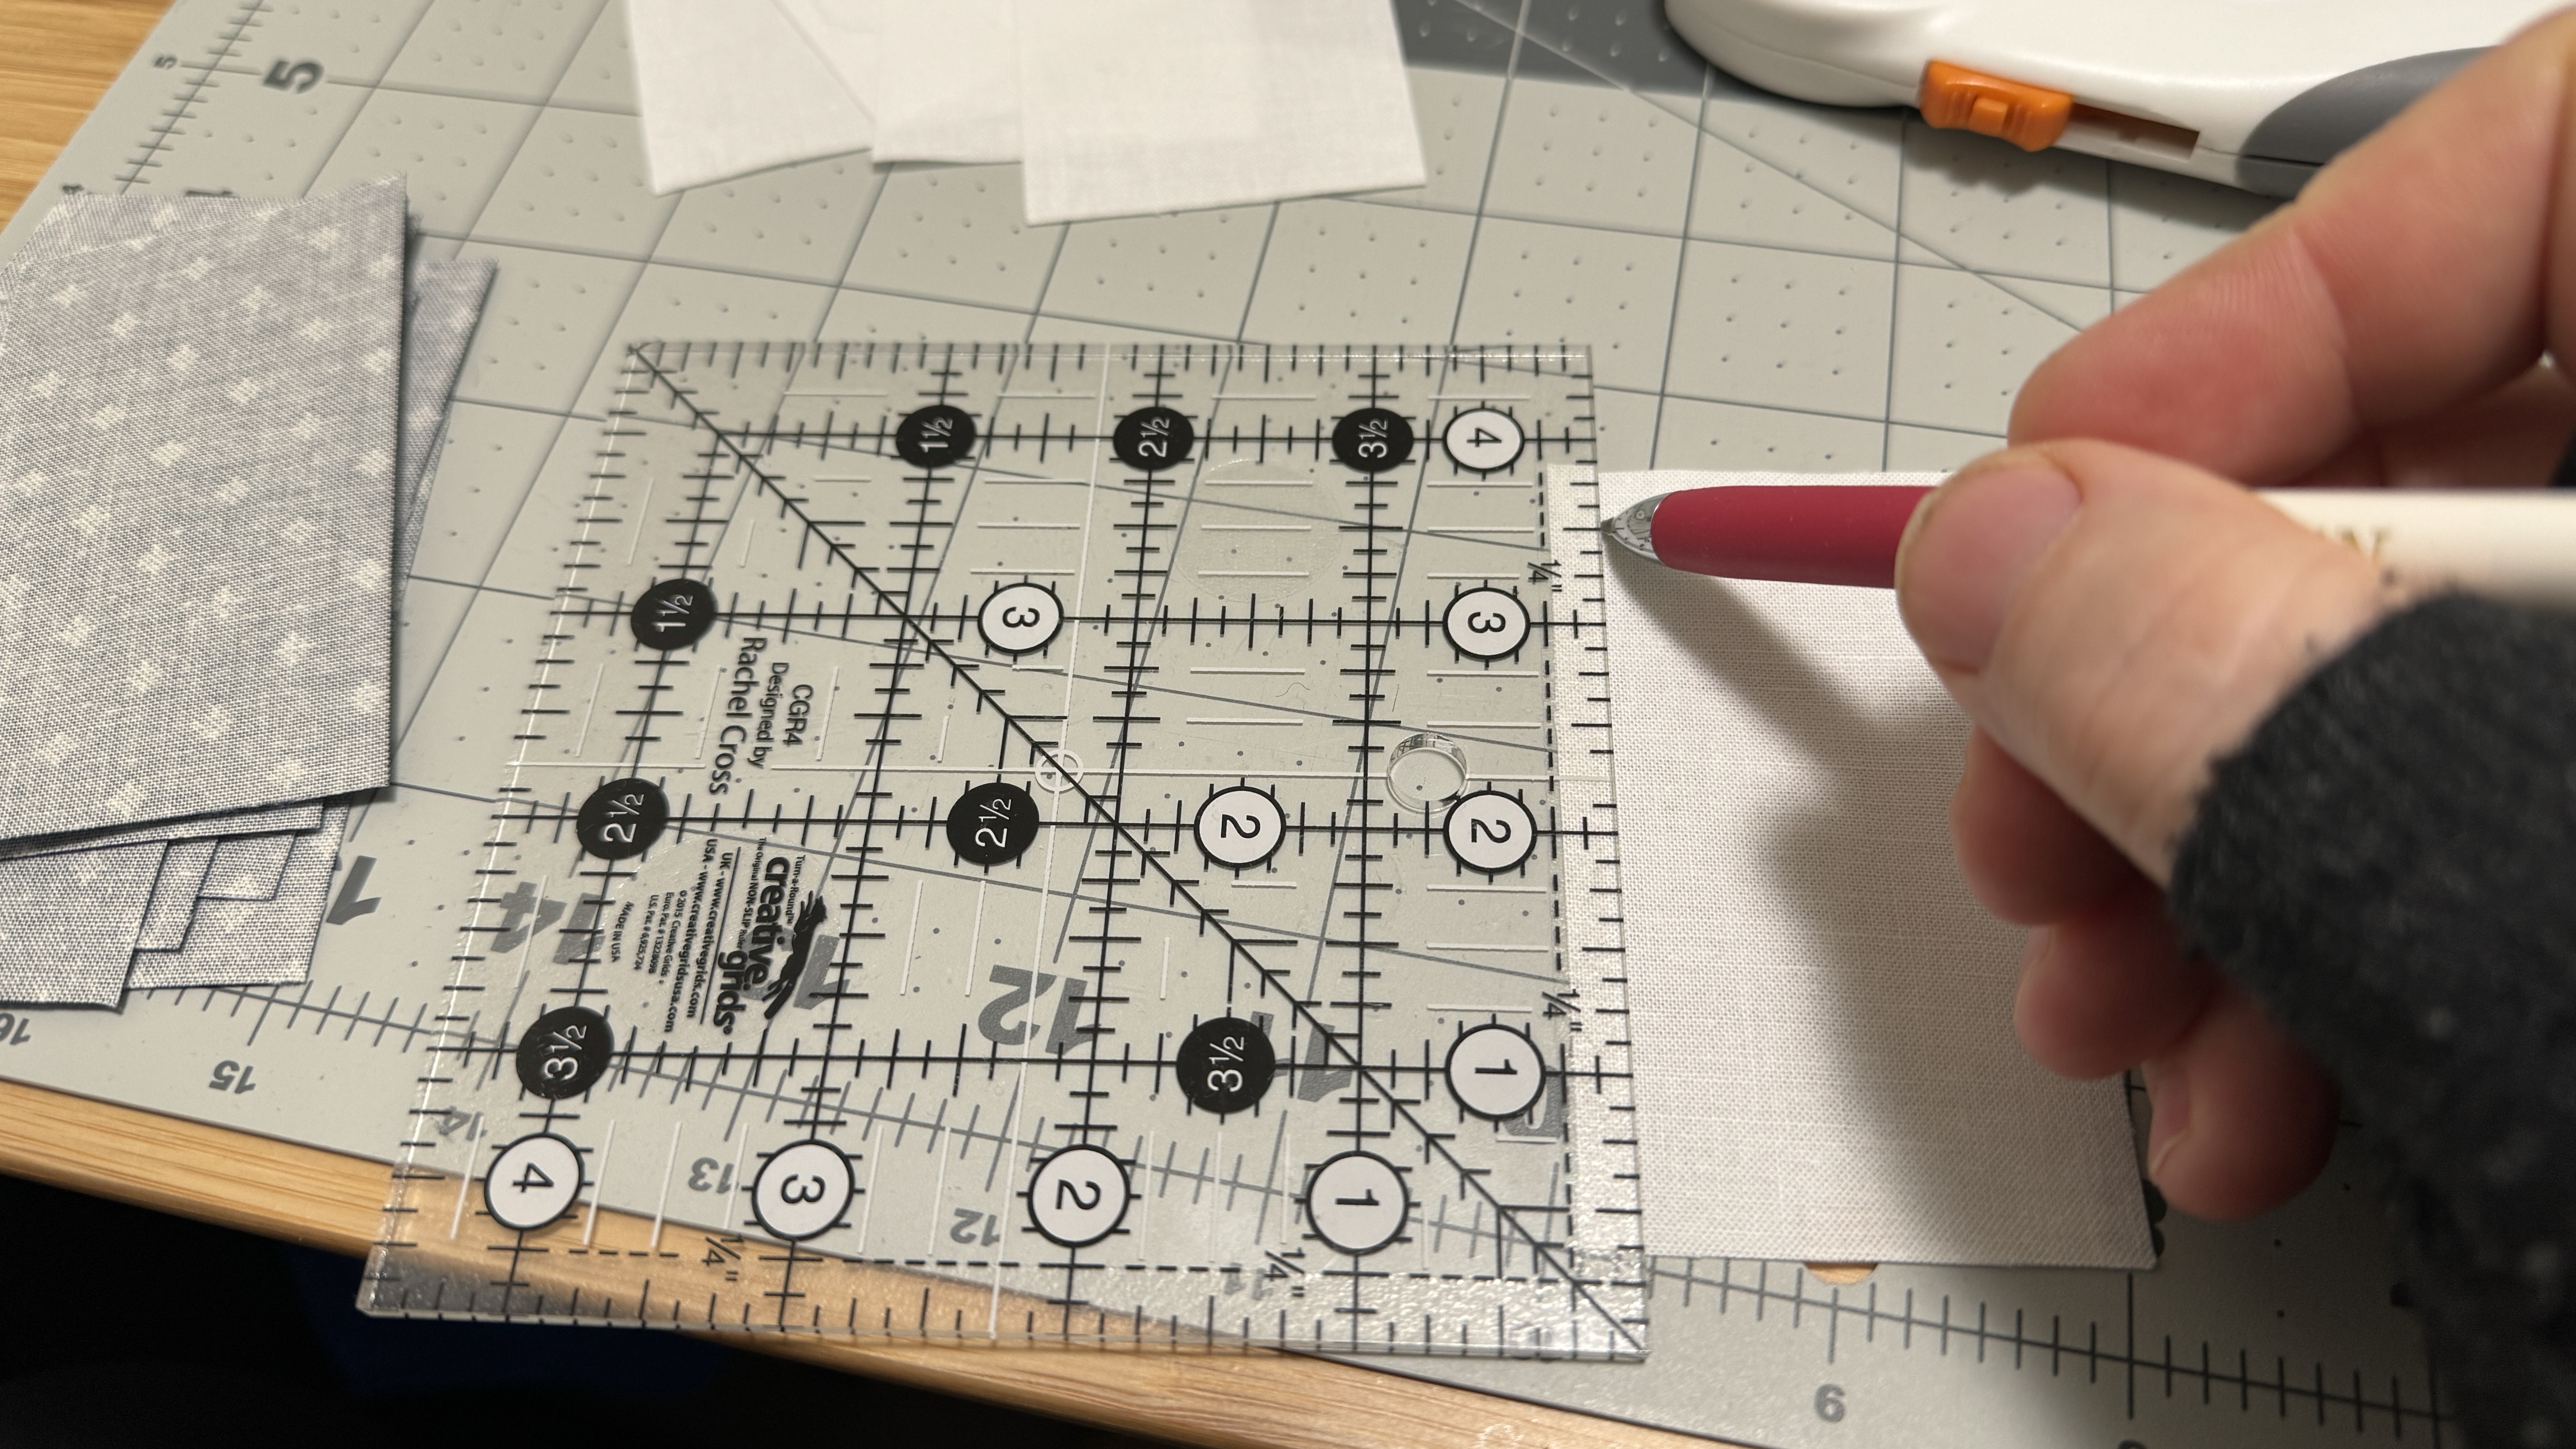
I used my ruler to cut rectangles. 2” x 3 1/2”. These were straight forward enough, I didn’t need to copy the pattern from the book.
I then marked the seam with a Bohin mechanical chalk pencil. I didn’t have a mechanical pencil then. My chalk pencil at the time was probably not as sharp, leaving a more wobbly and uncertain seam mark. I also wasn’t marking to a scant 1/4”. This time, I was more careful about that.
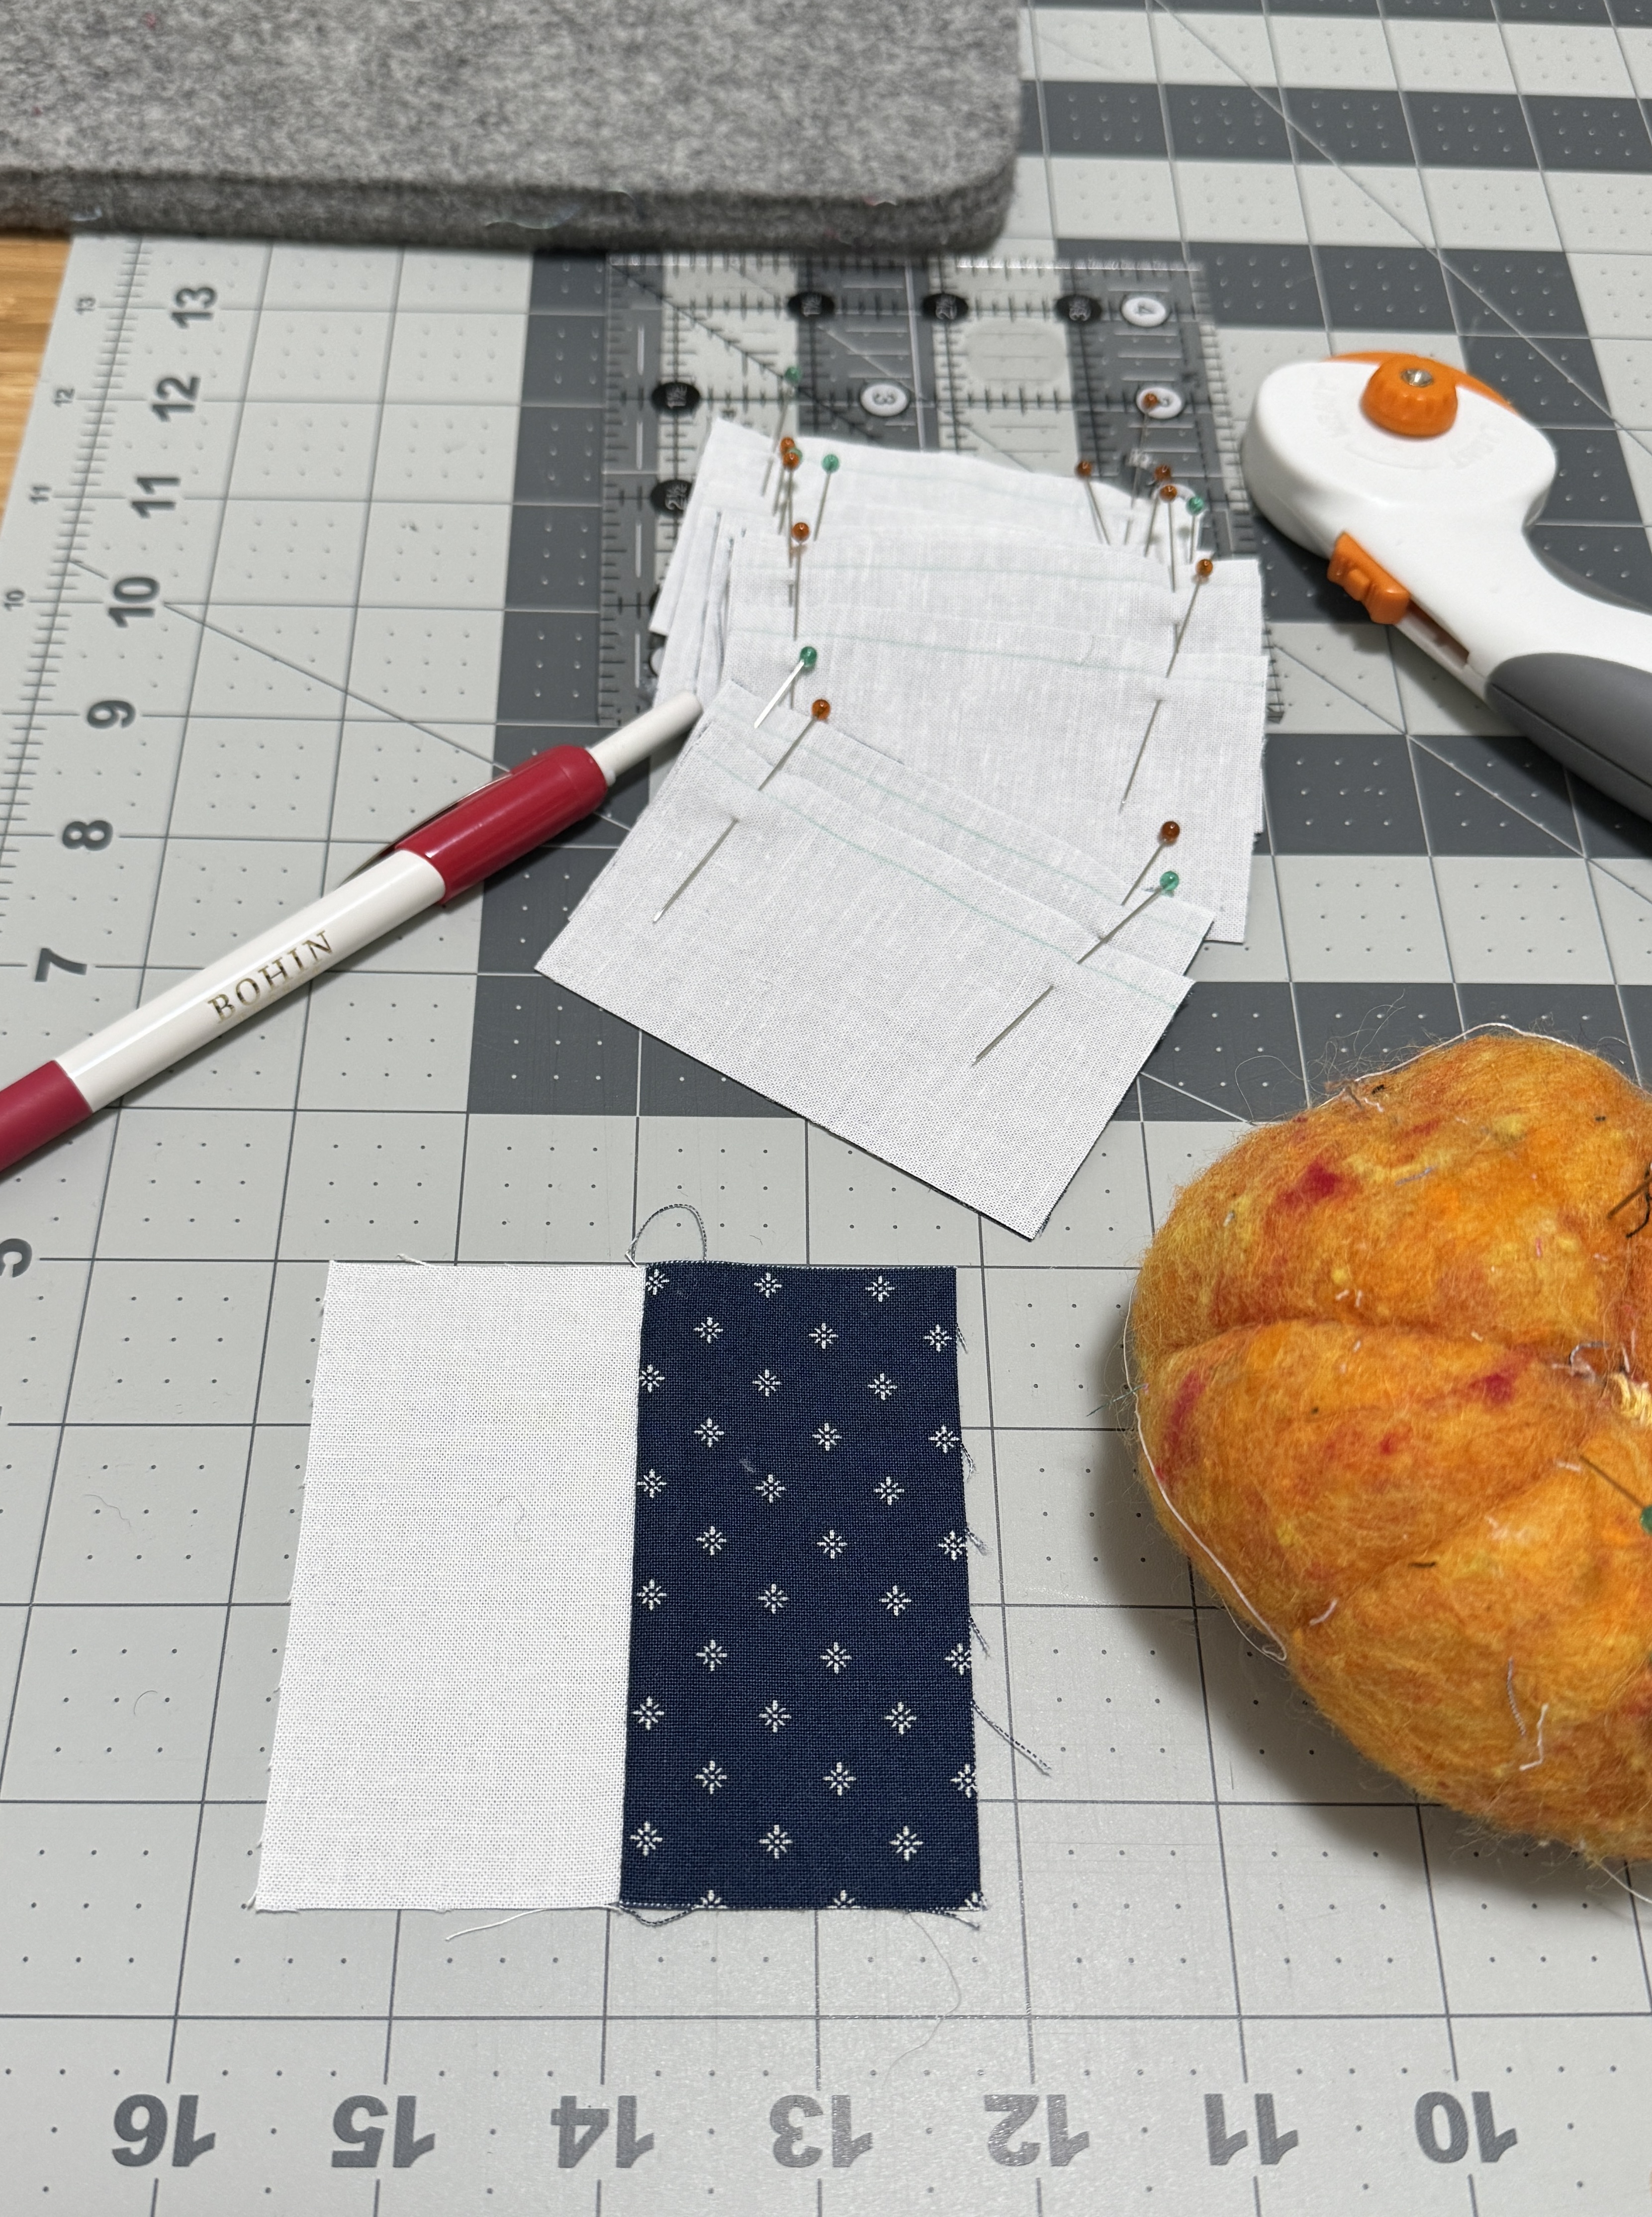
I pinned my lights and darks together. Two pins, just a pinch of fabric. I completed one and pressed it to see how it worked. Hand sewing seams like this is quite different from hand sewing binding. Completely different stitch and rythm. I’ll get back in the rythm. After all, I calculated 12,000 stitches to finish the flimsy/top of the first one. Muscle memory is sure to set in sooner rather than later!
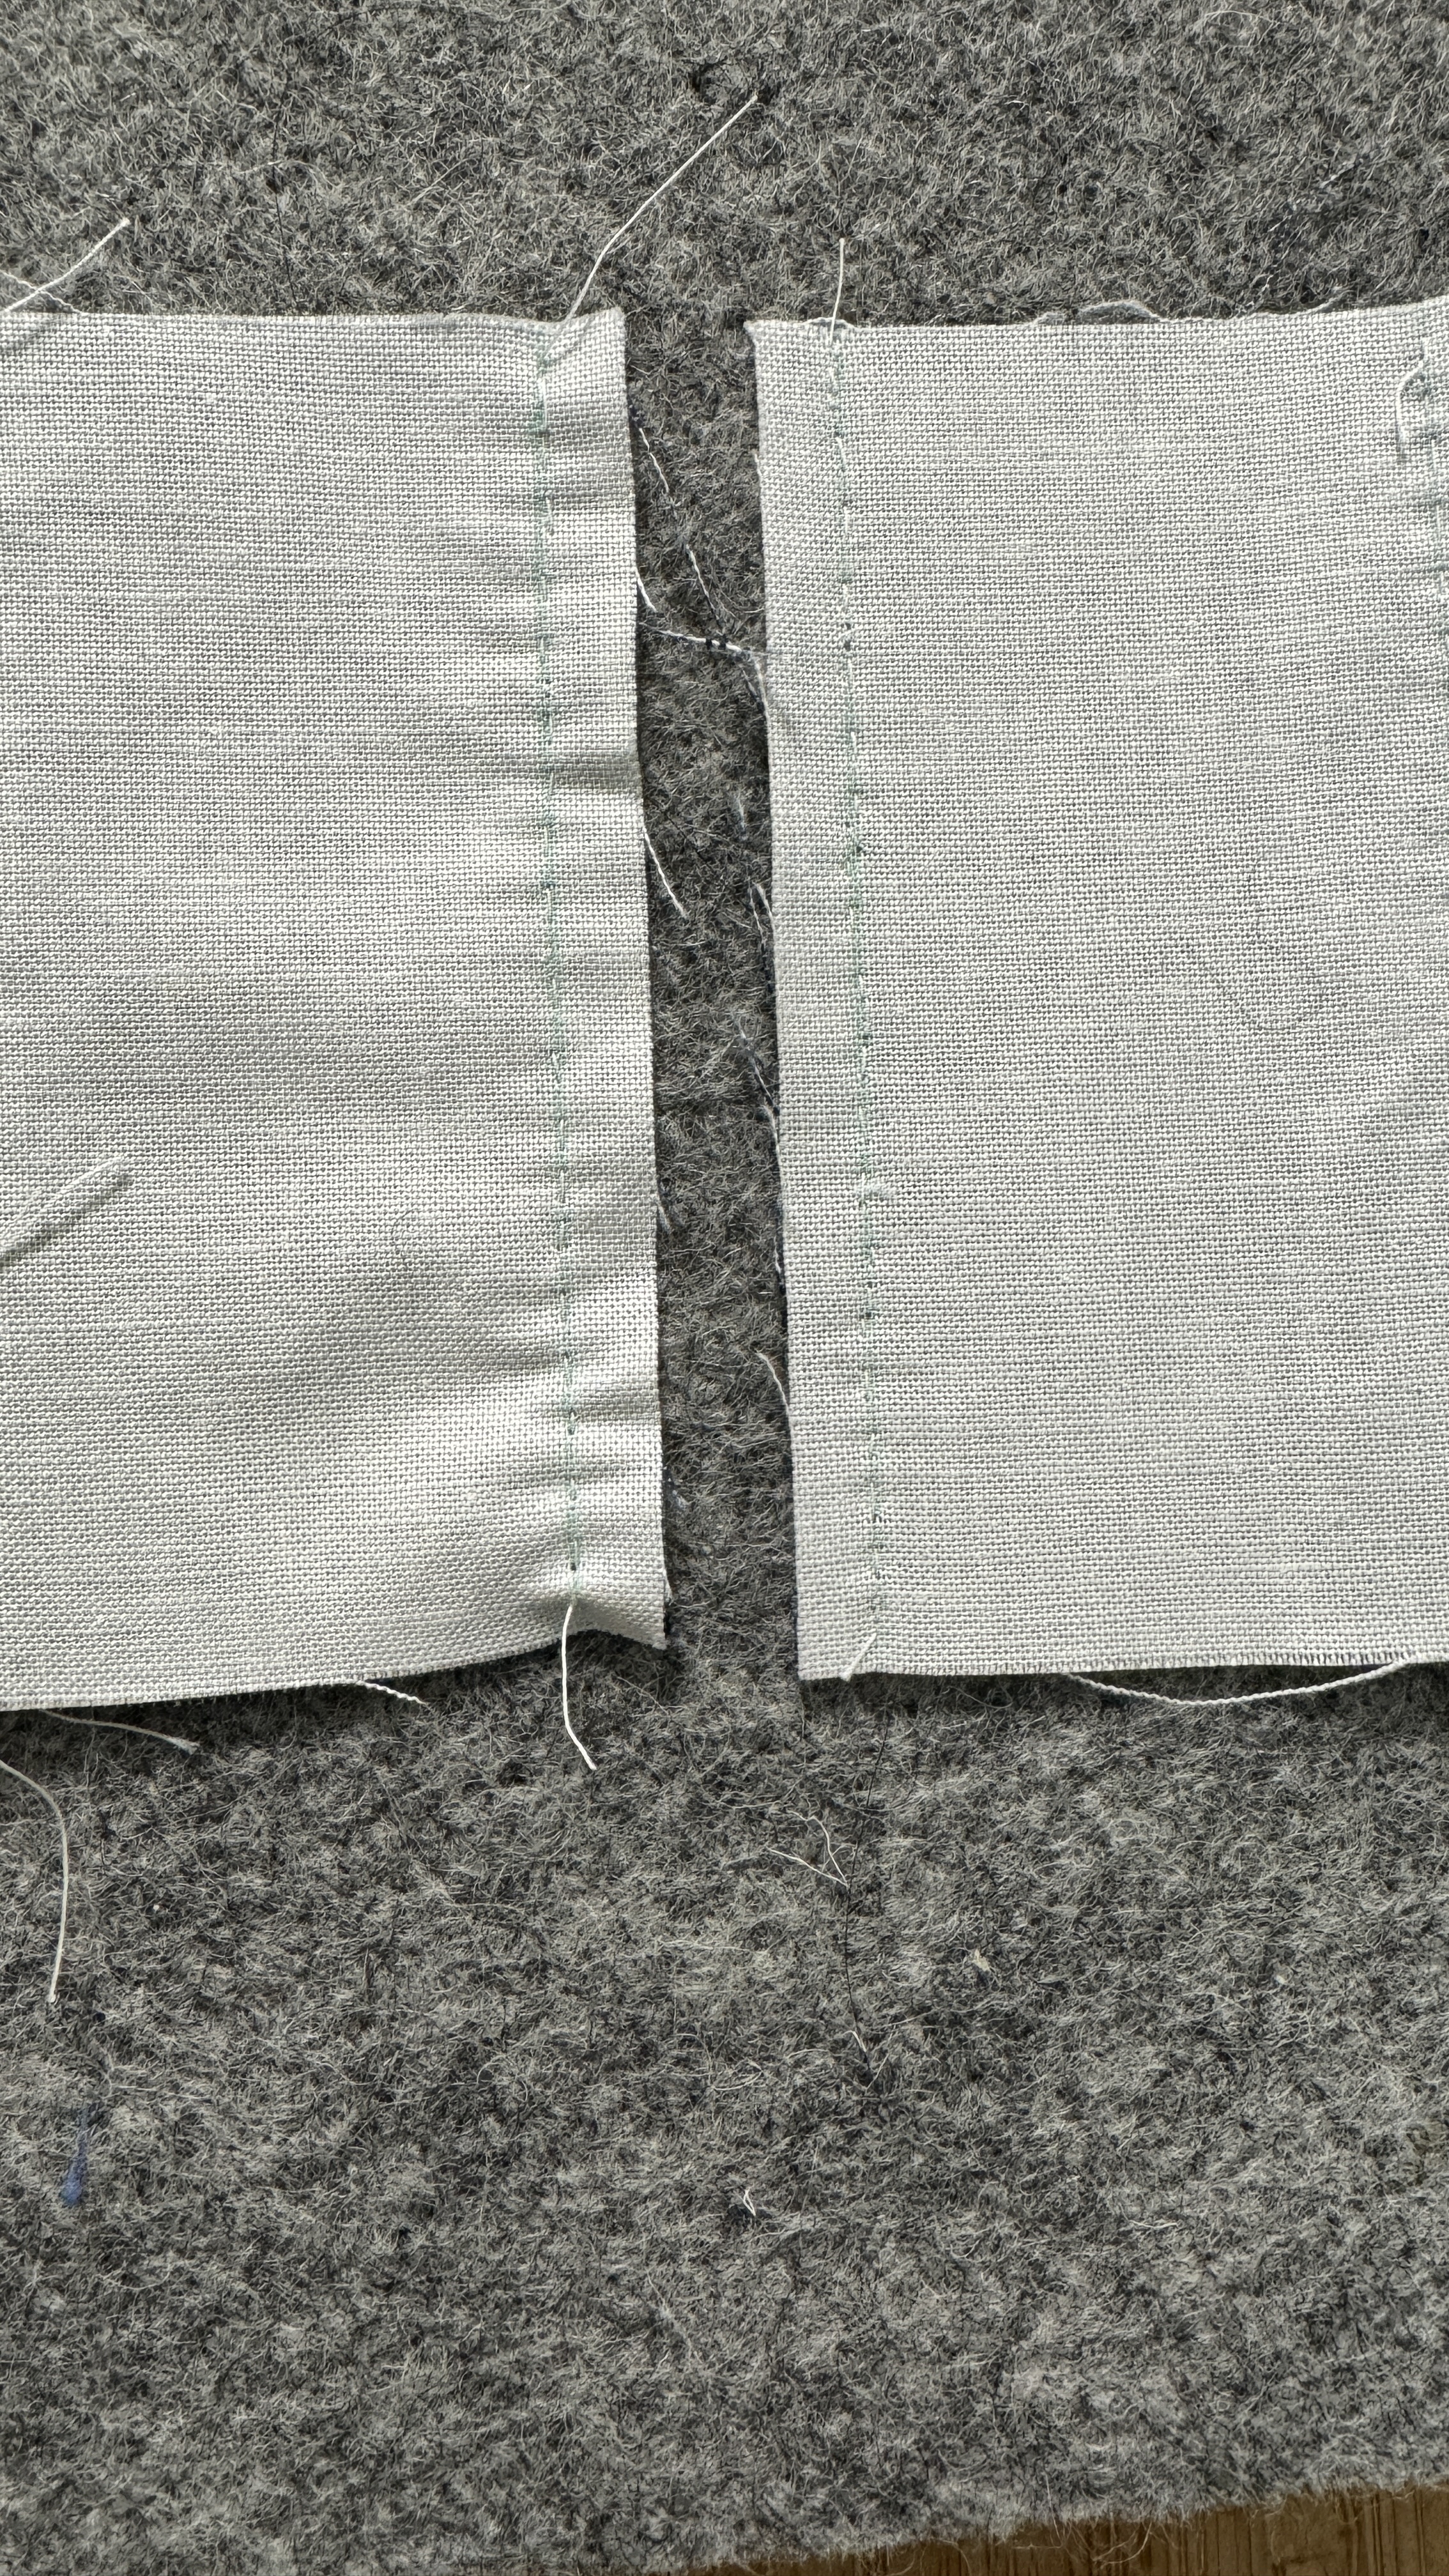
Once all the coins were stitched, I pressed the seam open. Made sure to set the seam and press it open, and starch it, and use the tailor’s clapper on it. Nice and flat crisp seam. Even with a hand-sewn seam.
Setting the seam is making a big difference in getting a flat and crisp seam. It just involves pressing the seam while it’s still closed with a hot iron. Check out the difference! The coin on the right had its seam pressed. It lays flat. The seam on the left didn’t, and it’s all wobbly.
Glad I finished this first step in the project. I might even make the next block this week!
Follow this project
Published on March 12, 2024